-
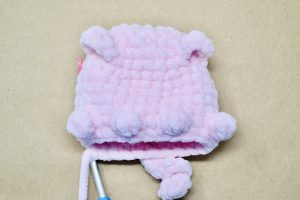
Pocket Pig
Free Amigurumi Crochet Pattern

Get Notified Of New Free Patterns
*Don't worry! No spamming here.
-
Using color pink
Right and left hand video tutorials available for this pattern in the pattern example above. Watch the step-by-step video
-
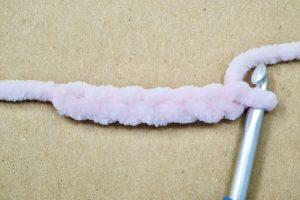
Make a slipknot and chain 7
-
R1: sc in the 2nd chain from hook, sc in next 5 ch sts
-
Working down the other side of the chain
-

sc in next 6 ch sts {12 sts}
We're working in continuous rounds. Place a stitch marker and continue to crochet into next stitch.
-
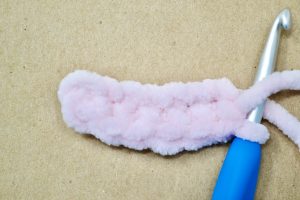
R2: (inc, sc) 6 times {18 sts}
-
R3: (inc, sc in next 2 sts) 6 times {24 sts}
-

R4 we're making the ears. Using stitch markers, mark the back loops only of stitch 3 and 11 before you begin crocheting. The ears will be worked into the front loops of the marked stitches.
I also suggest marking the first sc and the last sc of the ear with a stitch marker. Helpful for R5.
-
-
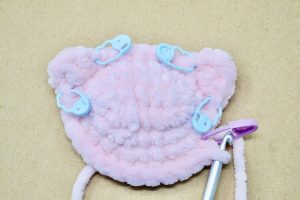
R4: sc in next 2 sts [ear: in next flo sc, hdc, dc, then ch 1, hdc, sc all in same st] sc in next 7 sts [ear: in next flo sc, hdc, dc, then ch 1, hdc, sc all in same st] sc in next 13 sts {24 sts counting the marked back loops, not the ear stitches}
-
For R5: As we work this round, we will work into the back loops that we marked for R4 and not into the stitches of the ear. After you work into the back loops, reach your hook over into the next stitch - the one next to your marked ear stitch.
-
R5: sc in next 24 sts {24 sts}
-
R6: (inc, sc in next 3 sts) 6 times {30 sts}
Optional: mark R7 for eye placement later.
-

R7-10: sc in next 30 sts {30 sts}
-
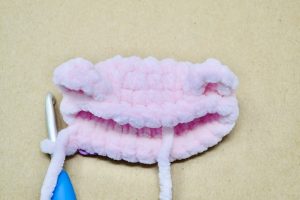
For R11, we'll be crocheting small bobbles and bobbles. The bobbles will be worked in the front loop only. For the tail I like to mark the stitch before I chain and then I mark the single crochet after I make the tail.
-
R11: sc in next 3 sts, flo bobble, sc in next 3 sts, flo small bobble, sc in next 3 sts, flo small bobble, sc in next 3 sts, flo bobble, sc in next 8 sts [tail: ch 6, make 3sc in 2nd ch from hook, 3sc in next 4 ch sts] sc in next 6 sts {30 sts}
Pop out your bobbles. Watch the step-by-step video tutorial for crocheting over tail.
-
R12: (dec, sc in next 3 sts) 6 times {24 sts} To work over the tail in R12, sc into the st marker, make sure the tail is toward you, reach your hook over and sc into next st marker.
-
-
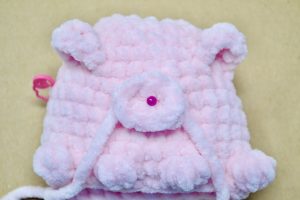
Place the snout between R7 and R8 and pin in place.
-
Take each tail and weave it through to the inside of the head and make a double knot on the inside of the head. The snout will be secure but loose. If this bothers you, dab of dot of fabric glue on the back of the snout when you're done crocheting. Let it dry.
-

Place 14mm safety eyes between R7 and R8 leave on a stitch open next to nose. Secure safety eyes .
-
R13: (dec, sc in next 2 sts) 6 times {18 sts}
-
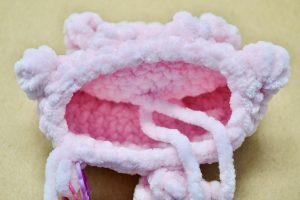
Begin to stuff. Don't overstuff, you want the bottom to lay somewhat flat.
-
R14: (dec, sc) 6 times {12 sts}
-

R15: (dec) 6 times {6 sts}
-

Fasten off and leave a long piece of yarn to sew the body shut.
-
-
Please be aware that amigurumi contains small pieces and can be dangerous to children.
-

If you like Pocket Pig, make sure to check out my Pocket Frog Free Crochet Pattern.