

-
Using color of choice
Right and left hand video tutorials available for this pattern in the pattern example above. Watch the step-by-step video
-
R1: 6 sc into a magic circle {6 sts}
-
R2: (inc) 6 times {12 sts}
-
R3: (inc, sc) 6 times {18 sts}
-
R4: (inc, sc in next 2 sts) 6 times {24 sts}
For 5 we’ll be crocheting small bobbles and bobbles to make the feet and tail. All bobbles will be worked in the front loop only. Watch the step-by-step video tutorial for R5.
-
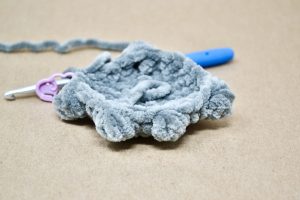
R5: sc in next 2 sts, flo bobble, sc in next 6 sts, flo bobble, sc in next 3 sts, flo small bobble, sc in next 2 sts, flo small bobble, sc in next 3 sts, flo bobble, sc in next 3 sts {24 sts}
-
R6: (inc, sc in next 3 sts) 6 times {30 sts}
-
R7: sc in next 30 sts {30 sts}
-
-
R8: (dec, sc in next 3 sts) 6 times {24 sts}
-
R9-10: sc in next 24 sts {24 sts}
-
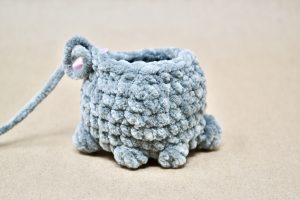
R11: (dec, sc in next 2 sts) 6 times {18 sts}
-
R12: sc in next 18 sts{18 sts}
-
We’re going to pause and place the eyes, nose and ears.
Watch the step-by-step video tutorial for safety eyes and nose.
-
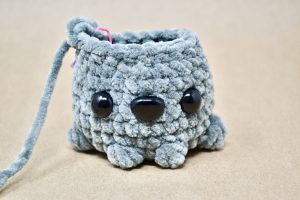
Place 14mm safety eyes between R8 and R9 leaving 5 stitches open between the eyes. Place 18mm safety nose in the middle, between the eyes.
-
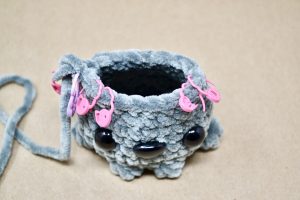
For exact ear placement: mark stitches 8, 9, 16 and 17 with stitch markers.
-
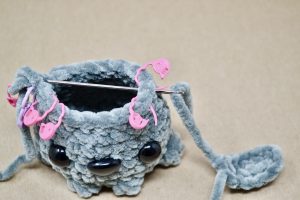
Place one end of the ear tail in stitch 8.
-
-
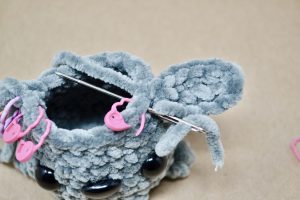
And then the other ear tail in stitch 9.
-
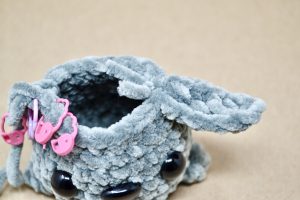
Make a double knot on the inside of the head. Cut off the excess yarn.
-
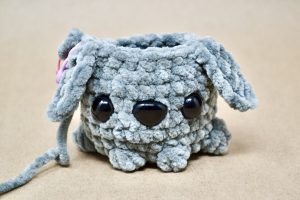
Repeat with the other ear.
-
Secure safety eyes and nose.
-
R13 -14: sc in next 18 sts {18 sts}
-
R15: (inc, sc in next 2 sts) 6 times {24 sts}
-
R16: sc in next 24 sts {24 sts}
-
R17: (inc, sc in next 3 sts) 6 times {30 sts}
-
-
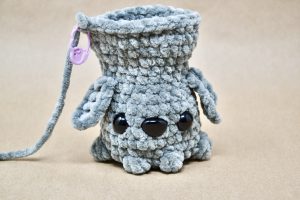
R18: (dec, sc in next 3 sts) 6 times {24 sts}
-
R19: sc in next 24 sts {24 sts}
-
R20: (dec, sc in next 2 sts) 6 times {18 sts}
-
R21: (dec, sc) 6 times {12 sts}
-
R22: (dec) 6 times {6 sts}
-
Fasten off and leave a long piece of yarn to sew the body shut.
-
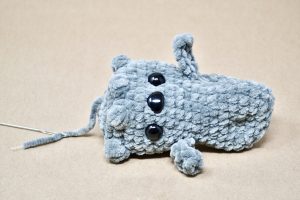
Weave the tail into the bottom of the dog and slowly pull the yarn through.
-
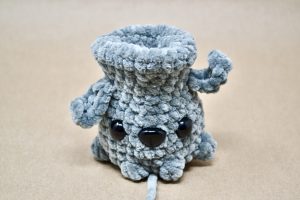
Begin to roll and tuck as you go until you reach the ears.
-
-
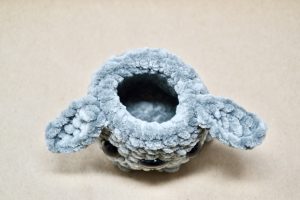
This makes a sturdy cup for goodies!
-
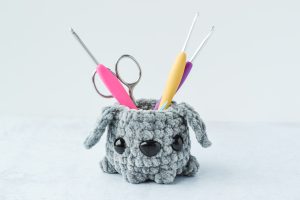
Fill up your cup with desk supplies!
-
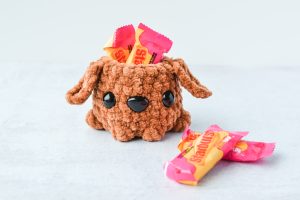
Candy!
-
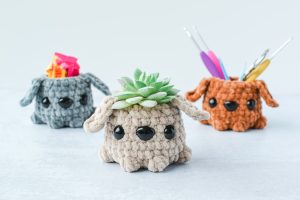
Even a fake plant!
-
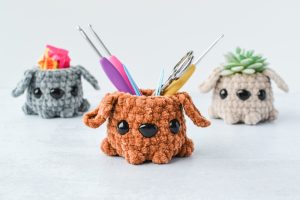
I hope you enjoy your desk buddy!!
-
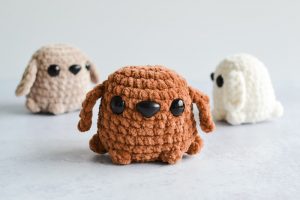
If you like Doggie Desk Buddy, make sure to check out my Pocket Pup Free Crochet Pattern.