ASSEMBLY
-
I recommend pinning the parts together before sewing the animal together. This will give you a better idea of where you'd like the parts to be attached before actual assembly.
-
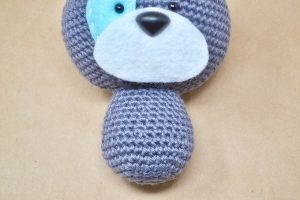
Attach the body at the base of the head, around R26 and R27.
-

Attach the ears between R10 and R11 on each side of the head.
-
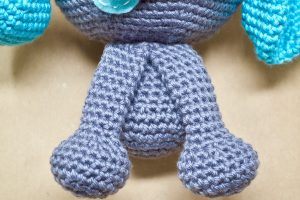
Attach the front legs next to each other underneath the head.
-
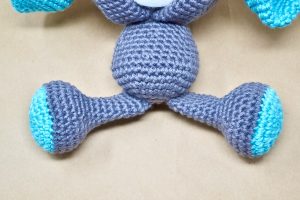
Attach the back legs on a slant between R2 and R5.
-

Attach the tail between R5 and R9 at the back of the body.
-

Secure Muzzle: Using fabric glue, secure the muzzle in place. Hold it down with your hand for a few minutes, making sure it's smooth. Let the muzzle dry for a few hours without manipulating the animal.
-
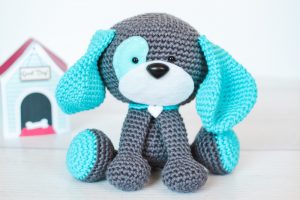
Extra: Add a dog collar by making a slip knot and chaining about 25 stitches. (You may need more or less depending on the size of your dogs neck.) Fasten off and knot the collar around the neck in the back. Weave in the ends.
-
-
Feel free to cut out a felt heart or bone to add to the collar with some fabric glue.
-

Weave in all the excess pieces of yarn into the body.
-

Please be aware that amigurumi contains small pieces and can be dangerous to children.
-

If you're selling this stuffed ami, please place a warning and also state that safety eyes are not recommended for anyone under the age of 3.
-
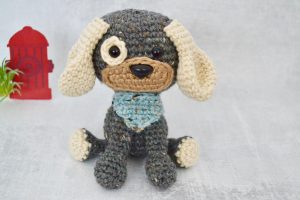
If you like Domino The Dog, make sure to check out my Dash The Dog Free Crochet Pattern.