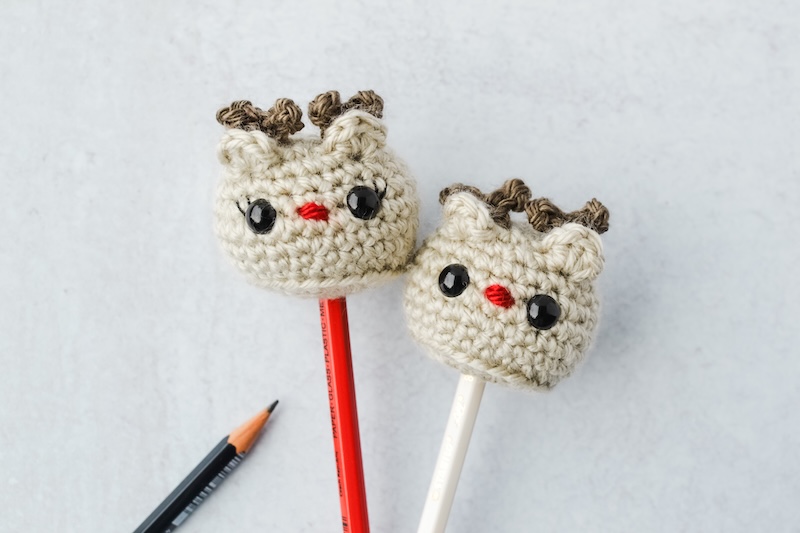
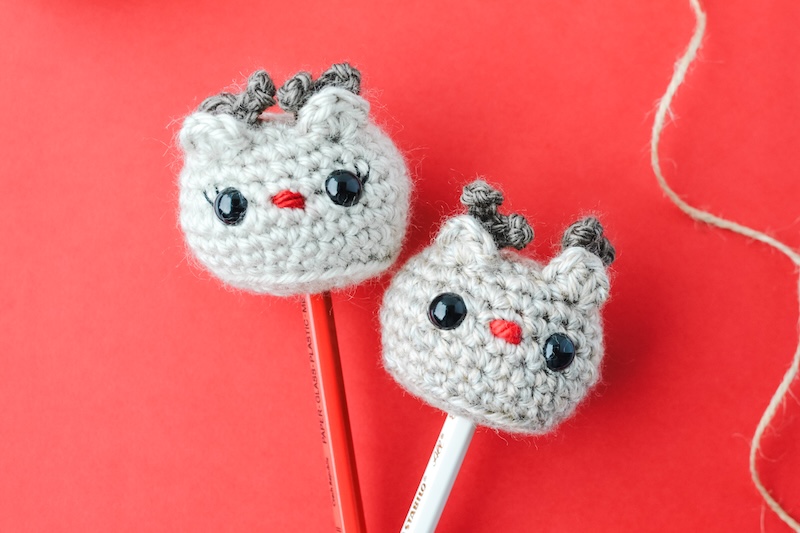
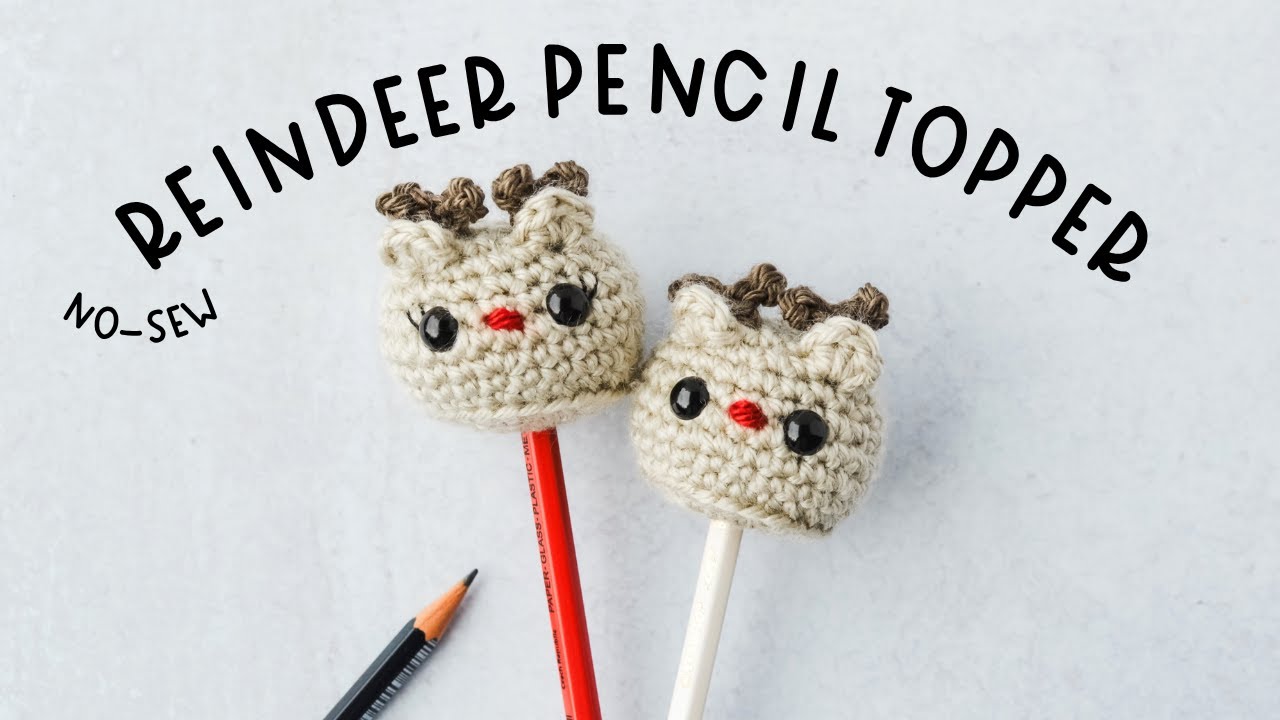
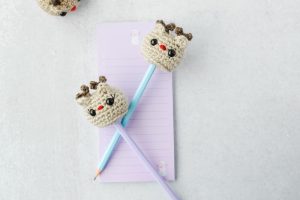
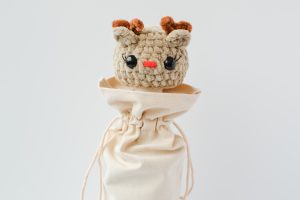
Reindeer Pencil Topper
Free Amigurumi Crochet Pattern
Add a touch of holiday cheer to your writing with this adorable crochet reindeer pencil topper! Reindeer pencil topper makes every note or doodle feel merry and bright. Perfect as a stocking stuffer, classroom gift, or cute desk accessory for the holiday season.
Skill Level: Advanced Beginner
This no-sew crochet pattern is written in U.S. crochet terms, complete with clear instructions and video tutorial to help you along the way. Reindeer Pencil Topper is crocheted in the round/continuous spirals without joining the rounds. I suggest using a stitch marker or different color yarn to keep track of each round. Reindeer Pencil Topper is crocheted in worsted weight yarn and is approximately 1.5 inches tall. Be aware that size may vary depending on the yarn and hook size used. Gauge is not particularly important, just be consistent with the tension you are using. And most importantly, have fun!
Jump To The Free Pattern BelowFree Pattern
Video Tutorial
Birthday
October 24, 2025
Likes
Flying and Staying Warm
Dislikes
Getting His Nose Pinched
Need Help?
This pattern is free but it is still copyrighted
This crochet pattern, as well as all images and text contained herein are copyrighted by YarnSociety.com and should not be copied, emailed, sold, reproduced, or distributed in any way to any other person or entity, or posted on any website (links to this page are welcome). You may, however, sell the final product or products created from this crochet pattern in accordance with your state and local laws, with the exception of mass production.

Reindeer Pencil Topper Pattern Essentials
Supplies
- Worsted Weight (4) Weight Yarn
- I used Lion Brand Heartland in Tortugas (light brown) (~16 yards/9 grams)
- I used Lion Brand Heartland in Mammoth Cave (dark brown) (~2 yards/1 grams)
- Long piece of red yarn for nose
- D (3.25mm) crochet hook
- Two 9mm plastic safety eyes (Not recommended for children under 3 years old)
- Yarn/Darning needle
- Scissors
- Polyfil Stuffing
- Pencil (optional)
- Locking Stitch Markers (optional)
*These are affiliate links to supplies I personally use and love. Thank you for supporting Yarn Society.
Abbreviations
- sc – single crochet
- st/sts – stitch(es)
- inc – increase (add 2 single crochet stitches into a stitch)
- dec – decrease (join 2 single crochet stitches into 1)
- ch – chain
- sl st – slip stitch
- hdc – half double crochet
- dc- double crochet
- R1- round 1
- ( ) – repeat this group of stitches
- flo- front loop only
- blo- back loop only
Reindeer Pencil Topper Pattern Example
If a line is written with a single “inc”, “dec” or “sc” – make one single crochet increase, decrease, or single crochet into one stitch only.
6 sc into a Magic Circle{6 sts}
R1 starts with a magic circle
Alternate way to begin: chain 2, sc 6 times in 2nd chain from hook {6 sts}
(inc, sc) 6 times {18 sts}
(2 single crochets in one stitch, then single crochet in the next stitch) – repeat that sequence a total of 6 times for a total of 18 stitches
(dec, sc in next 2 sts) 6 times {18 sts}
(join 2 single crochets into 1, and then single crochet in next 2 stitches) – repeat that sequence a total of 6 times for a total of 18 stitches
Right Hand Reindeer Pencil Topper Crochet Along Video Tutorial
Left Hand Reindeer Pencil Topper Crochet Along Video Tutorial
Full Free Pattern Below↓
Reindeer Pencil Topper Full Pattern
HEAD
-
Using light brown yarn
-
R1: 6 sc into a magic circle {6 sts}
-
For this pattern you can either crochet R2-R6 with the wrong side facing you or turn your work inside out at R4 and continue crocheting the next two rounds. R1-R6 is the post for the pencil.
-
R2-6: sc in next 6 sts {6 sts}
-
R7: (inc) 6 times {12 sts}
-
R8: (inc, sc) 6 times {18 sts}
-
R9: (inc, sc in next 2 sts) 6 times {24 sts}
-
R10: sc blo in next 24 sts {24 sts}
-
-
R11: sc in next 24 sts {24 sts}
-
R12: (inc, sc in next 3 sts) 6 times {30 sts}
-
R13: sc in next 30 sts {30 sts}
-
R14: (dec, sc in next 3 sts) 6 times {24 sts}
-
R15: sc in next 24 sts {24 sts}
-
R16 we’re making the ears. Mark the back loops only of stitch 11 and stitch 16. All ear stitches will be worked into the front loop of the marked stitch. I suggest marking the first sc and last sc of each ear as it’s helpful for R17.
-
R16: sc in next 10 sts, [ear: in next flo sc, hdc, dc, hdc, sc all in same st], sc in next 4 sts, [ear: in next flo sc, hdc, dc, hdc, sc all in same st], sc in next 8 sts {24 sts} counting the marked back loops, not the flo stitches of the ears.
-
For R17: We’ll work into the back loops that we marked for R16 and not into the marked stitches of the ear. After you work into the marked back loop, reach your hook over into the next stitch - the one next to your marked ear stitch.
-
-
R17: (dec, sc in next 2 sts) 2 times, dec, sc into marked back loop st, sc next st, dec, sc next st, sc into marked back loop st, (dec, sc in next 2 sts) 2 times {18 sts}
-
We’re going to pause and place the antlers, eyes and nose. Secure your working yarn with a stitch marker. Place 9mm safety eyes between R13 and R14 leaving 4 stitches open between the eyes. Optional: embroider eyelashes. Secure safety eyes when happy with placement. With red yarn, embroider a nose over one stitch between R13 and R14, between the eyes.
-
Antlers
-
Insert your hook under a stitch between R16 and R17, above the ears. Place dark brown yarn onto your hook and pull it through the stitch.
-
Ch 5, sl st to 3rd chain from hook, sl st in next ch st, ch 4, sl st to 3rd chain from hook, sl st in next ch st, and then sl st to last st on the original chain {5 sts}
-
Fasten off. Using a yarn needle, weave the fastened off piece to the inside of the head - moving over one stitch. Weave the other remaining yarn tail into the head and make a knot to secure. Repeat steps on the other side. See video for help.
-
Place your reindeer on a pen or pencil for support and then lightly stuff around the middle post. Continue to lightly stuff as you continue crocheting.
-
R18: (dec, sc) 6 times {12 sts}
-
-
R19: (dec) 6 times {6 sts}
-
Fasten off and leave a long piece of yarn to sew the head shut. Cut off excess yarn.
-
Place your topper on a pen or pencil and enjoy:)
-

Happy Gifting!
-

Happy Holidays!
-
If you like Reindeer Pencil Topper, make sure to check out my Reindeer Gift Topper Free Crochet Pattern.