Get Notified Of New Free Patterns
*Don't worry! No spamming here.
-
You will use this technique for all of the pumpkin sizes.
-
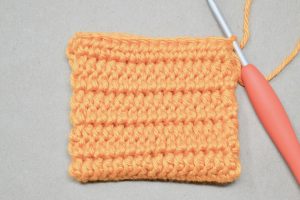
Fold the piece so that the textured sides are facing each other.
-
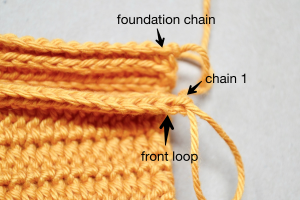
Chain 1, sc into the front loop only of the working side of the piece, then into a stitch from the foundation chain
-
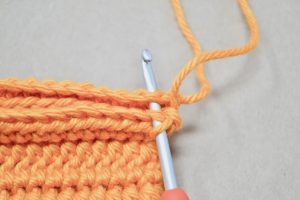
Example of sc into the front loop only on working side and a stitch through foundation chain
-
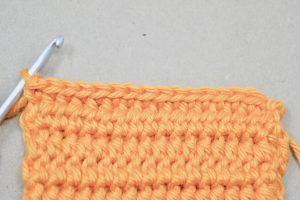
Continue down the Row. Fasten off and leave an EXTRA long tail.
-
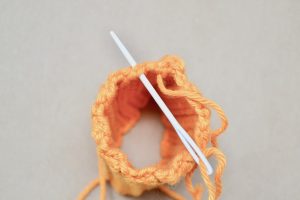
Using the shorter tail first - complete a running stitch. Insert a yarn needle out through a stitch.
-
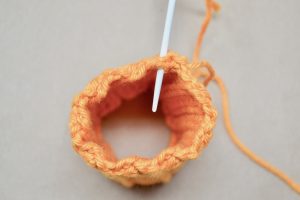
And then in through a stitch. Continuing that pattern until you reach the end.
-
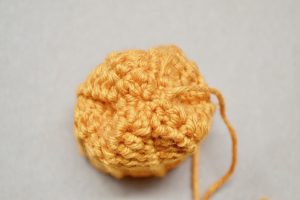
Cinch the running stitch closed.
-
-
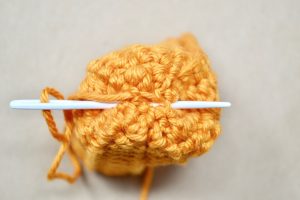
Insert your needle to secure the hole - go back and forth a few times. After securing the hole closed, bring your needle to the inside of the piece and finish with a knot
-
Turn the piece inside out - textured side facing you.
-
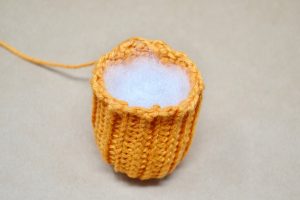
Fill the pumpkin with fiberfill stuffing.
-
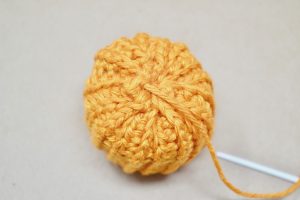
Close the other side with a running stitch. Cinch the hole closed and secure with a knot.
-
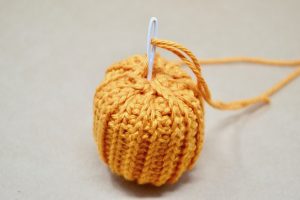
Insert a yarning needle down the top center reaching through to the bottom center.
-
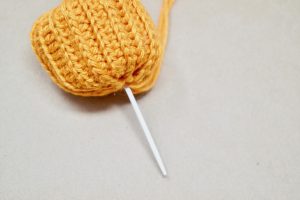
Re-insert your needle through the bottom center and pull through to the top again.
-
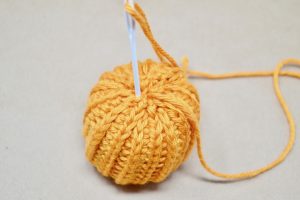
Pull taut to bring the middle together. Move over a stitch and repeat - doing this a few times. This will give a pumpkin shape.
-
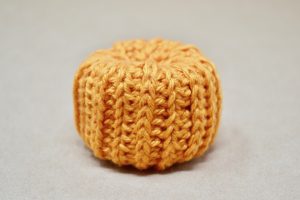
Make a knot on the bottom of the pumpkin to secure and finish off by weaving in the yarn.
-


