-
Use this technique for all pumpkin sizes.
-
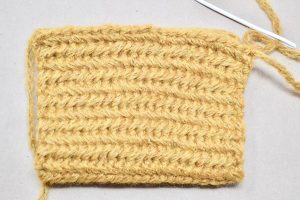
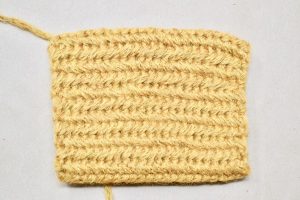
Fold the piece in half with the herringbone design facing you. Thread the shorter tail into a yarn needle.
-
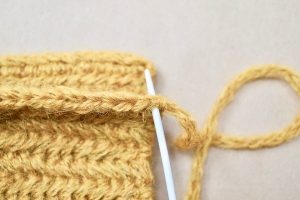
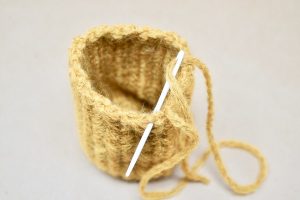
Align the ends and begin to whipstitch. Thread the needle into the first stitch.
-
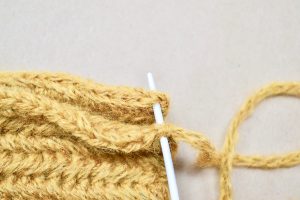
Then thread your needle into the first stitch on the other side of the piece.
-
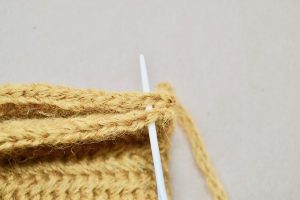
Move over one stitch and continue the whipstitch.
-
Whipstitch down the row and weave in the end.
-
Thread the yarn needle through the other yarn tail and complete a running stitch. Insert the needle out through a stitch.
-
-
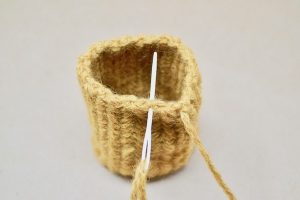
And then in through a stitch. Continuing that pattern until you reach the end.
-
Cinch the running stitch closed.
-
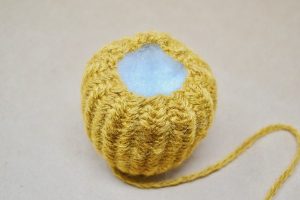
Stuff the pumpkin.
-
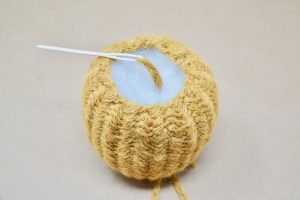
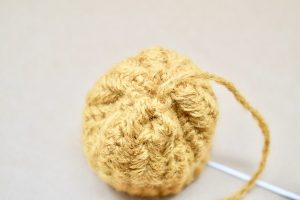
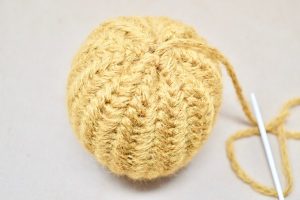
Thread the needle up through the pumpkin.
-
Begin to make another running stitch. Insert a yarn needle out through a stitch.
-
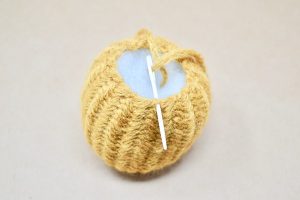
And then in through a stitch. Continuing that pattern until you reach the end.
-
Cinch the running stitch closed.
-
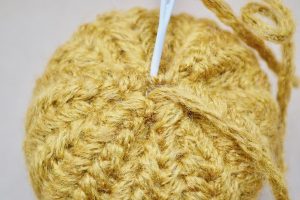
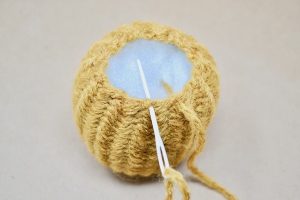
Insert the yarn needle down the top center reaching through to the bottom center.
-
-
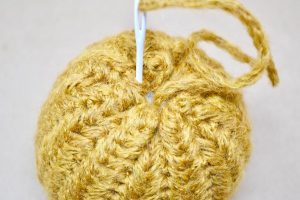
Re-insert your needle through the bottom center and pull through to the top again. Each time you do this, move the yarn needle over slightly to grab a bit a yarn near the middle.
-
Pull taut to bring the middle together. This will give the pumpkin some shape.
-
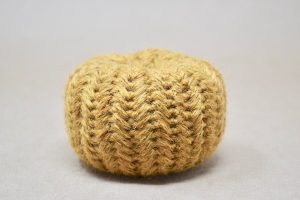
Make a knot on the bottom of the pumpkin to secure and finish off by weaving in the yarn.
-

If you like Herringbone Pumpkins, make sure to check out my Faux Knit Pumpkins Free Crochet Pattern.