Get Notified Of New Free Patterns
*Don't worry! No spamming here.
-
Small Stem
-
Using a D hook
-
Make a slip knot, leaving about a 4 inch tail, and chain 13
-
R1: Working into the back bumps of the chain, sc into the 2nd chain from the hook, hsc in the next 11 sts, turn {12 sts}
-
Fasten off and leave about a 4 inch tail.
Scroll down to see how to attach the stem.
-
Medium Stem
-
Using a G hook
-
-
Make a slip knot, leaving about a 4 inch tail, and chain 15
-
R1: Working into the back bumps of the chain, sc into the 2nd chain from the hook, hsc in the next 13 sts, turn {14 sts}
-
Fasten off and leave about a 4 inch tail.
Scroll down to see how to attach the stem.
-
Large Stem
-
Using a 7/4.5 hook
-
Make a slip knot, leaving about a 4 inch tail, and chain 17
-
R1: Working into the back bumps of the chain, sc into the 2nd chain from the hook, hsc in the next 15 sts, turn {16 sts}
-
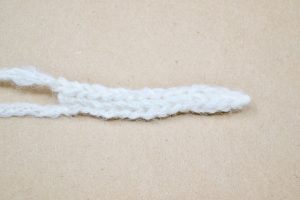
Fasten off and leave about a 4 inch tail.
-
-
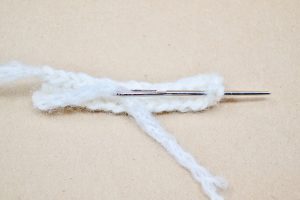
Fold the stem in half. Thread an end into a yarn needle and weave the yarn tail through to the other side.
-
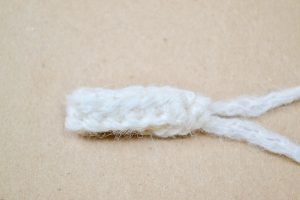
Repeat with the second tail.
Do not go into the same stitch.
-
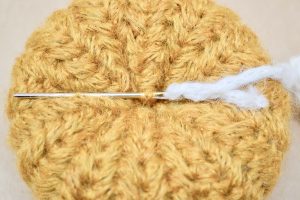
Weave one of the ends near the middle of the pumpkin.
-
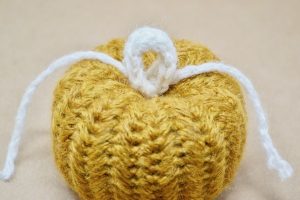
Make a double knot with the two ends.
-
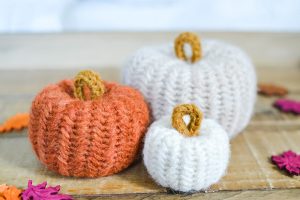
Weave in both ends.
-
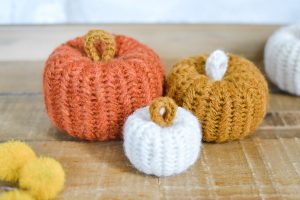
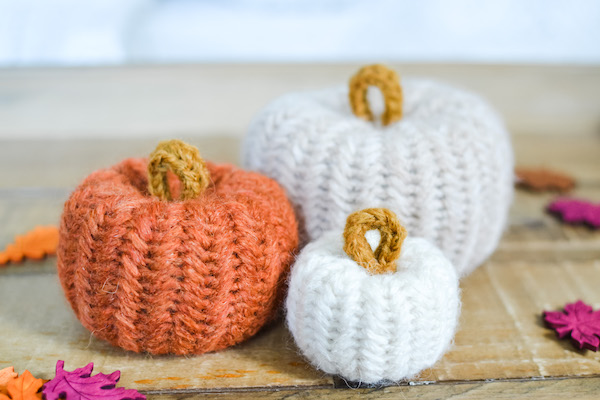
Enjoy your pumpkins!
-
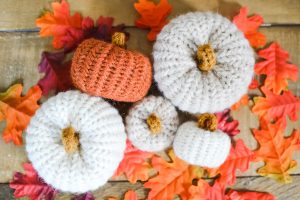
Decorate the whole house!
-
-
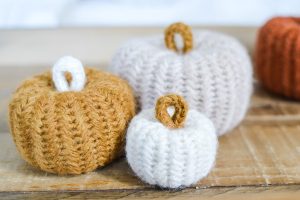
Perfect for gift giving and markets!


