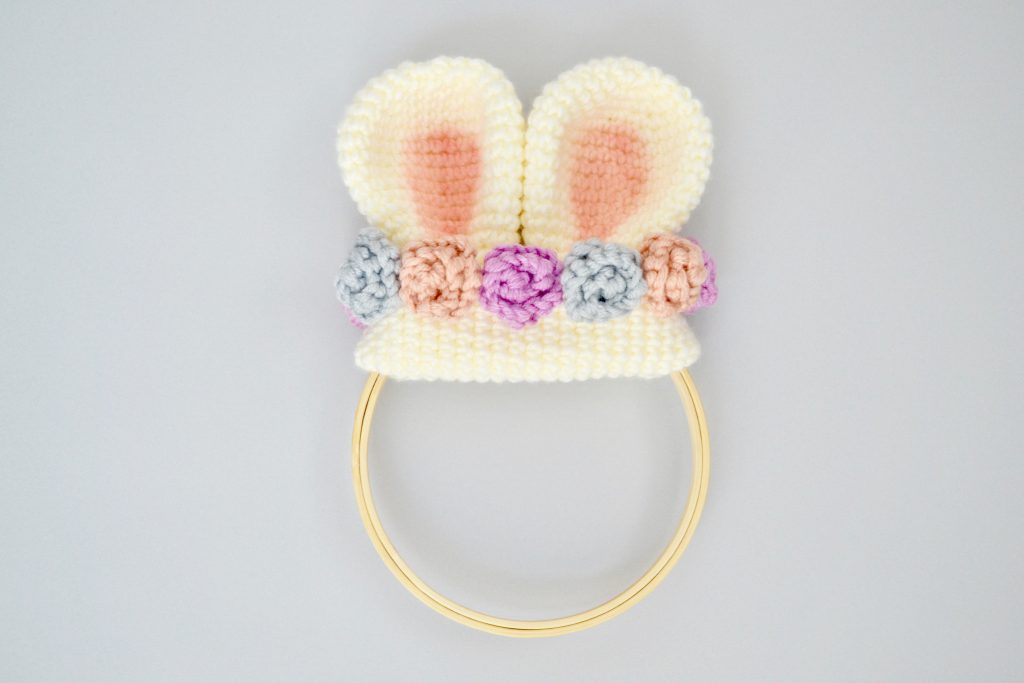
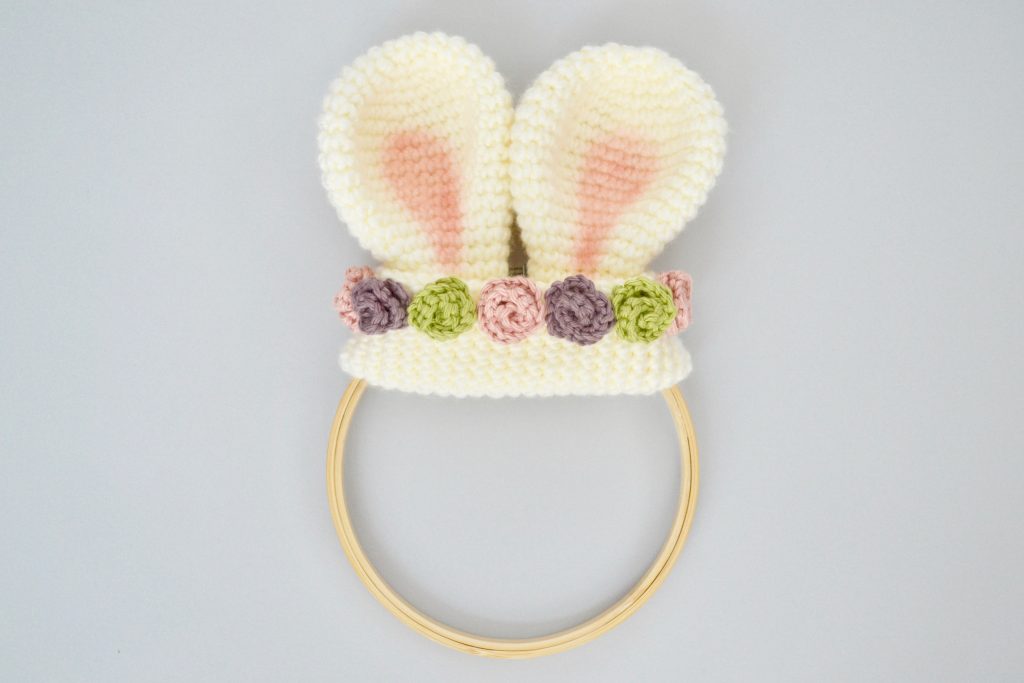
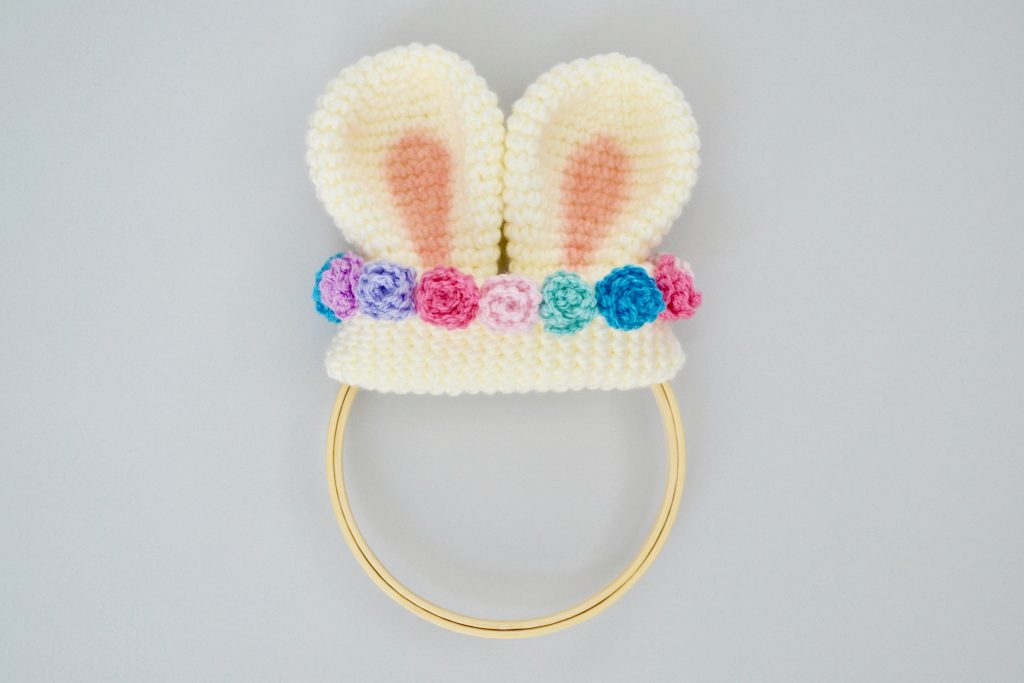
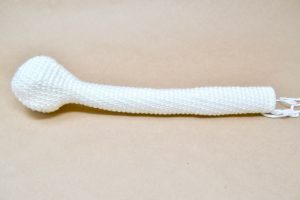
Mini Bunny Ear Wreath
Free Amigurumi Crochet Pattern
This Mini Bunny Ear Wreath may be small in size but can add a big impact on your Easter decorations.
Skill Level: Beginner
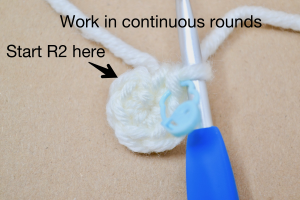
The pattern is written in U.S. crochet terms, complete with clear instructions and pictures to help you along the way. Mini Bunny Ear Wreath is crocheted in continuous spirals without joining the rounds. I suggest using a stitch marker or different color yarn to keep track of each round. The Bunny Ears are approximately 3 inches tall on the hoop when crocheted in Color Made Easy yarn (5 Bulky). Be aware that size may vary depending on the yarn and hook size used. Gauge is not particularly important, just be consistent with the tension you are using. And most importantly, have fun!
Jump To The Free Pattern BelowFree Pattern
Need Help?
This pattern is free but it is still copyrighted
This crochet pattern, as well as all images and text contained herein are copyrighted by YarnSociety.com and should not be copied, emailed, sold, reproduced, or distributed in any way to any other person or entity, or posted on any website (links to this page are welcome). You may, however, sell the final product or products created from this crochet pattern in accordance with your state and local laws, with the exception of mass production.
Mini Bunny Ear Wreath Pattern Essentials
Supplies
- Worsted-Weight Yarn
- Lion Brand Color Made Easy in Birch (White) (one skein)
- For Flowers
- Lion Brand Color Made Easy in Prism (Purple) (small amount)
- Lion Brand Color Made Easy in Horizon (Blue) (small amount)
- Lion Brand Color Made Easy in Millennial (Peach) (small amount)
- H (5.0mm) crochet hook
- G (4.0mm) crochet hook (flowers)
- 6 inch embroidery hoop
- Finishing Needle
- Scissors
- Locking Stitch Markers (optional)
- Low Temp Hot Glue Gun or Fabric glue (optional)
*These are affiliate links to supplies I personally use and love. Thank you for supporting Yarn Society.
Techniques
- Magic Circle
- Single Crochet
- Increasing
- Decreasing (I personally like to use the invisible decrease)
- Fasten Off
- Slip Knot and Chain
Abbreviations
- sc – single crochet
- st/sts – stitch(es)
- inc – increase (add 2 stitches into a stitch)
- dec – decrease (join 2 stitches into 1)
- R1- round 1
- ( ) – repeat this group of stitches
Mini Bunny Ear Wreath Pattern Example
6 sc into a Magic Circle {6 sts}
R1 starts with 6 single crochet in a magic circle
Alternate way to begin: chain 2, sc 6 times in 2nd chain from hook
(inc) 6 times {12 sts}
(2 single crochets in each stitch) – repeat the sequence a total of 6 times for a total of 12 sts
(inc, sc in next st) 6 times {18 sts}
(2 single crochets in one stitch, then single crochet in the next stitch) – repeat that sequence a total of 6 times for a total of 18 sts
(dec, sc in next 2 sts) 6 times {18 sts}
(join 2 single crochets into 1, and then single crochet in next 2 stitches) – repeat that sequence a total of 6 times for a total of 18 sts
Mini Bunny Ear Wreath Full Pattern
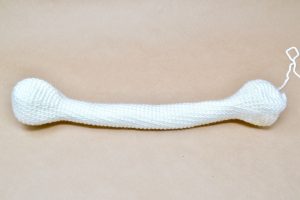
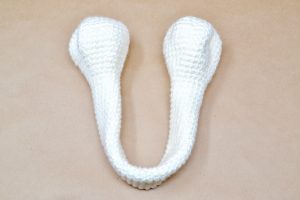
BUNNY EARS
-
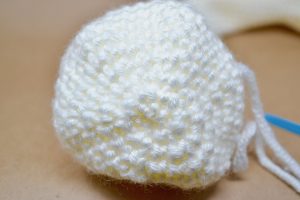
R1: 6 sc into a magic circle {6 sts}
-
R2: (inc) 6 times {12 sts}
-
R3: (inc, sc in next st) 6 times {18 sts}
-
R4: (inc, sc in next 2 sts) 6 times {24 sts}
-
R5: (inc, sc in next 3 sts) 6 times {30 sts}
-
R6: (inc, sc in next 4 sts) 6 times {36 sts}
-
R7-10: sc in next 36 sts {36 sts}
-
R11: (dec, sc in next 4 sts) 6 times {30 sts}
-
-
R12: sc in next 30 sts {30 sts}
-
R13: (dec, sc in next 3 sts) 6 times {24 sts}
-
R14: sc in next 24 sts {24 sts}
-
R15: (dec, sc in next 2 sts) 6 times {18 sts}
-
R16: sc in next 18 sts {18 sts}
-

R17: (dec, sc in next 4 sts) 3 times {15 sts}
-
R18 -61: sc in next 15 sts {15 sts}
-
R62: (inc, sc in next 4 sts) 3 times {18 sts}
-
-
R63: sc in next 18 sts {18 sts}
-
R64: (inc, sc in next 2 sts) 6 times {24 sts}
-
R65: sc in next 24 sts {24 sts}
-
R66: (inc, sc in next 3 sts) 6 times {30 sts}
-
R67: sc in next 30 sts {30 sts}
-
R68: (inc, sc in next 4 sts) 6 times {36 sts}
-
R69-72: sc in next 36 sts {36 sts}
-
R73: (dec, sc in next 4 sts) 6 times {30 sts}
-
-
R74: (dec, sc in next 3 sts) 6 times {24 sts}
-
R75: (dec, sc in next 2 sts) 6 times {18 sts}
-
R76: (dec, sc in next st) 6 times {12 sts}
-
R77: (dec) 6 times {6 sts}
-
No stuffing needed. Fasten off and leave a tail.
Watch this video on how to close an amigurumi piece: https://youtu.be/gJOsYIT7_Rg
-
How to Close the Ear
-
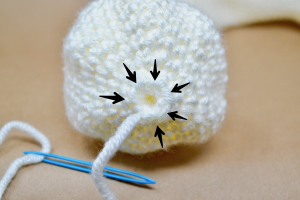
Identify the six remaining stitches. Thread the fastened off yarn through a yarn/darning needle.
-
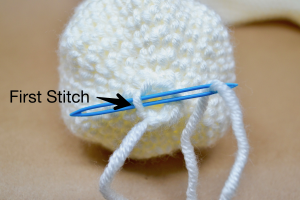
Insert your needle through the the middle of the first stitch (behind the front loop) and pull the yarn through.
-
-
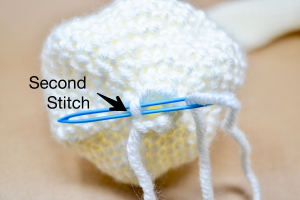
Insert your needle through the the middle of the second stitch and pull the yarn through.
-
Continue around...
-
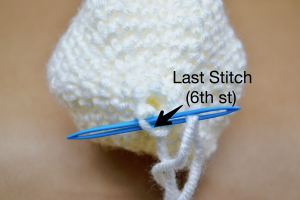
Until you reach the last stitch (6th stitch) and pull the yarn through.
-
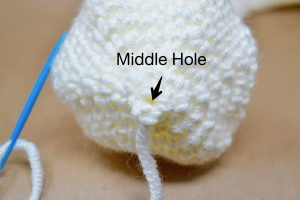
Pull the yarn taut. Don't pull too tight because you'll want to leave a tiny hole in the middle.
-
Insert your needle through the hole - weaving it into the piece.
-
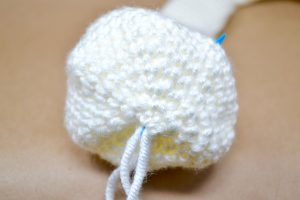
Pull tightly on the yarn to close the middle hole.
-
Now both sides will look identical.
Video on How To Close An Amigurumi Piece: https://yarnsociety.com/tutorials/how-to-close-an-amigurumi-piece
-
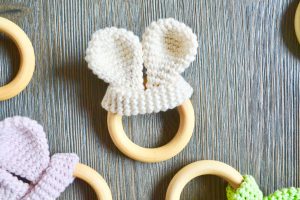
If you like Mini Bunny Ear Wreath, make sure to check out my Bunny Ear Teether Free Crochet Pattern.