HEAD AND BODY

  • R1: 4 sc into a magic circle {4 sts}
  • R2: (sc, 3sc) 2 times {8 sts}
  • R3: (sc, 3sc) 4 times {16 sts}
  • R4: sc in next 2 sts, (3sc, sc in next 3 sts) 3 times, 3sc, sc {24 sts}
  • R5: sc in next 3 sts, (3sc, sc in next 5 sts) 3 times, 3sc, sc in next 2 sts {32 sts}
  • R6: sc in next 4 sts, (3sc, sc in next 7 sts) 3 times, 3sc, sc in next 3 sts {40 sts}
  • R7: sc in back loop only in next 40 sts {40 sts}
  • Back through both loops.
  • R8-15: sc in next 40 sts {40 sts}
  • R16: (dec, sc in next 3 sts) 8 times {32 sts}
  • R17: (dec, sc in next 2 sts) 8 times {24 sts}
  • R18: (dec, sc in next 10 sts) 2 times {22 sts}
  • R19: (dec, sc in next 9 sts) 2 times {20 sts}
  • Fasten off and leave an extra long piece of yarn (will need a long piece to whipstitch the piece closed later in the pattern).
  • Position the owl with R1 facing down and the open end facing up.

    Watch the step-by-step video tutorial for eye placement.

  • Place 15 mm safety eyes between R13 and R14, leaving 5 stitches open between the eyes.
  • Make sure the ruffled part of the eye is facing out as pictured.
  • Secure the back of the safety eyes.

    Watch the step-by-step video tutorial for the beak

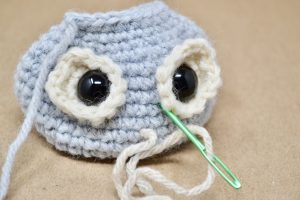
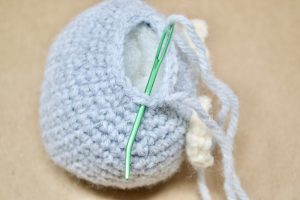
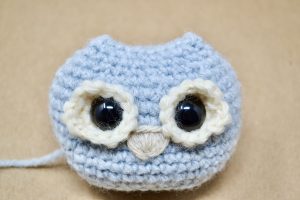
  • Thread an 18 inch piece of contrasting colored yarn into a yarn needle and knot one end.
  • Insert the needle from the inside of the piece, between a stitch of R10 and R11 (centered between the eyes as pictured).
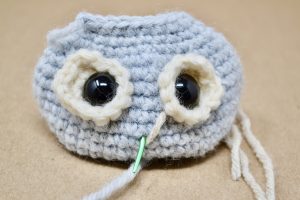
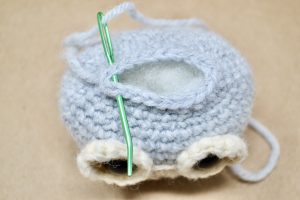
  • Embroider over 5 stitches between R12 and R13.
  • Repeat going up through R10 and R11.
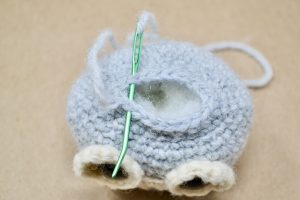
  • And then going down through a stitch between R12 and R13.
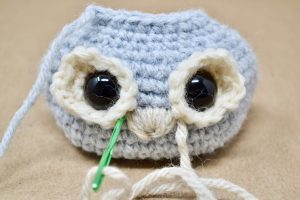
  • Finish off by embroidering a horizontal line across the top.
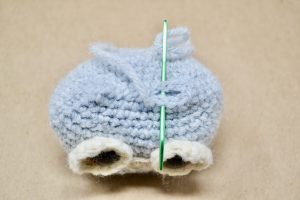
  • Secure with a knot on the inside of the head.
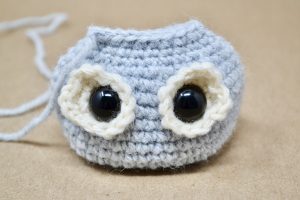
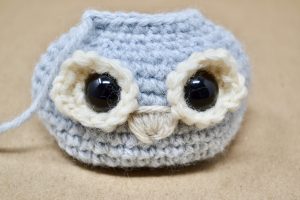
  • Although the owl has a flat bottom, it doesn't sit perfectly straight. If you'd like, cut a small piece of cardboard to place on the bottom of the owl, before stuffing, to give it more stability.

    Watch the step-by-step video tutorial to close the head.

  • Stuff the owl. Make sure not to overstuff if you want the bottom to lay somewhat flat.
  • Whipstitch the piece closed. I like to pull my fastened off stitch in by pulling my needle through the stitch next to it, as pictured.
  • Pull your needle through two stitches to start whip stitching.
  • Move over to the next two stitches and pull through.
  • Continue down the row.
  • The whipstitch naturally gives the owl the mini tips on the ends.
  • Weave in your remaining yarn.