Learn how easy it is to close an amigurumi piece with just a few simple steps and this easy to follow tutorial.
When I first started making amigurumi pieces, I was stumped at how to actually close those last few stitches. I clumsily sewed and prayed that the stitches wouldn’t unravel. It wasn’t until I learned this simple technique that my amigurumi life changed. Learning tips and tricks of the crochet trade can really boost your confidence in the craft, so I hope this helps you learn and grow in your yarn adventures.
Step 1: Identify your remaining stitches – in this case I have six stitches. Thread the fastened off yarn through a yarn/darning needle.
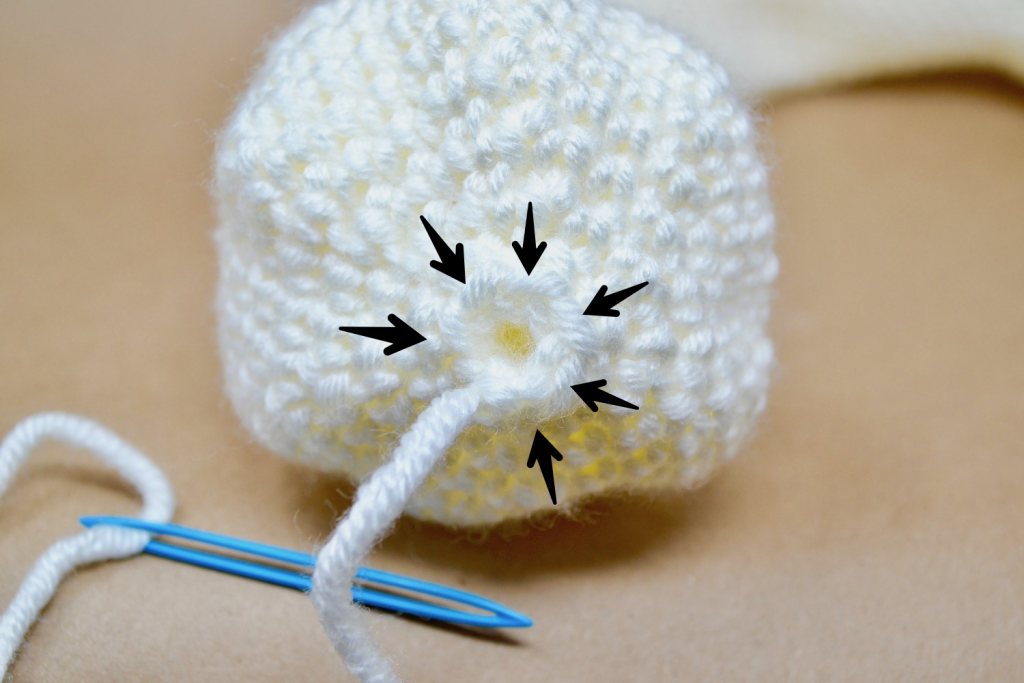
Step 2: Insert your needle through the the middle of the first stitch (behind the front loop) and pull the yarn through.
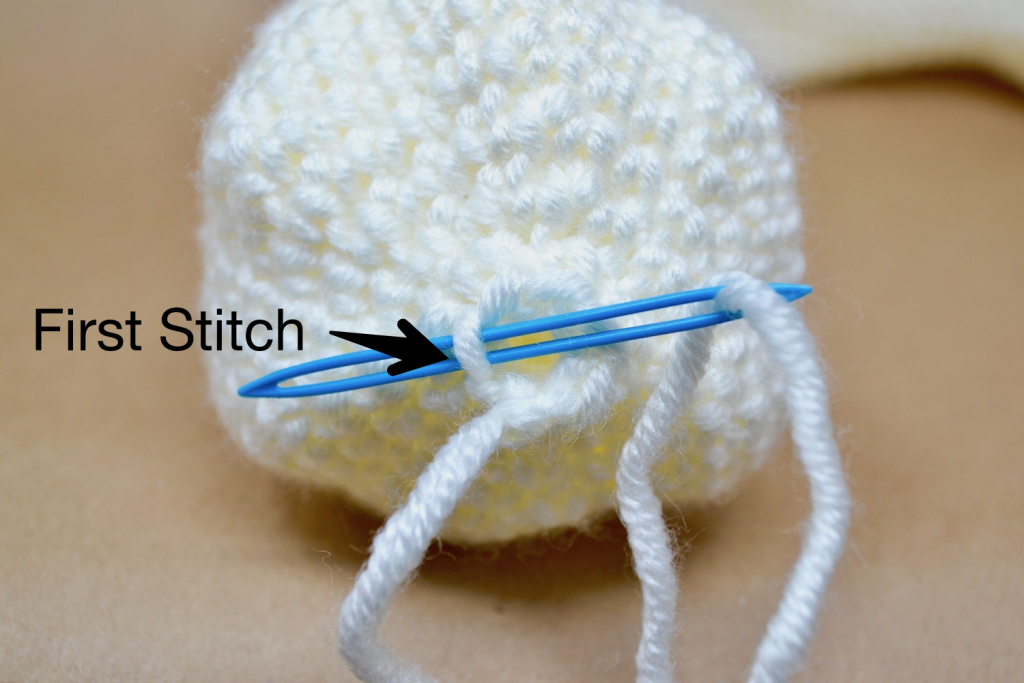
Step 3: Insert your needle through the the middle of the second stitch and pull the yarn through.
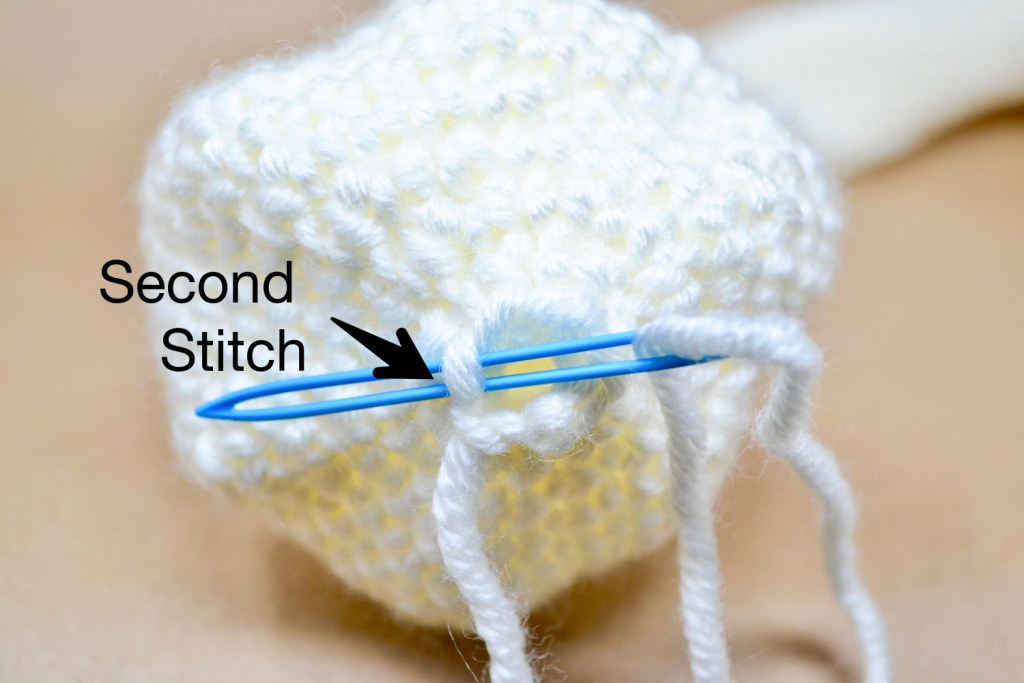
Step 4: Continue around…
Step 5: Until you reach the last stitch (sixth stitch) and pull the yarn through.
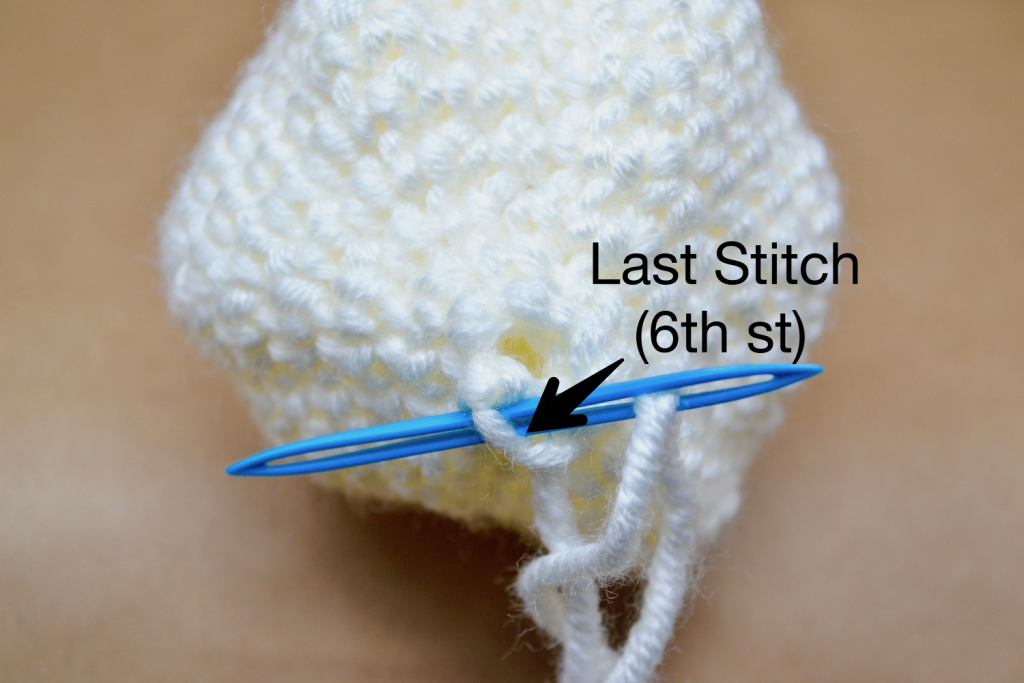
Step 5: Pull the yarn taut. Don’t pull too tight because you’ll want to leave a tiny hole in the middle.
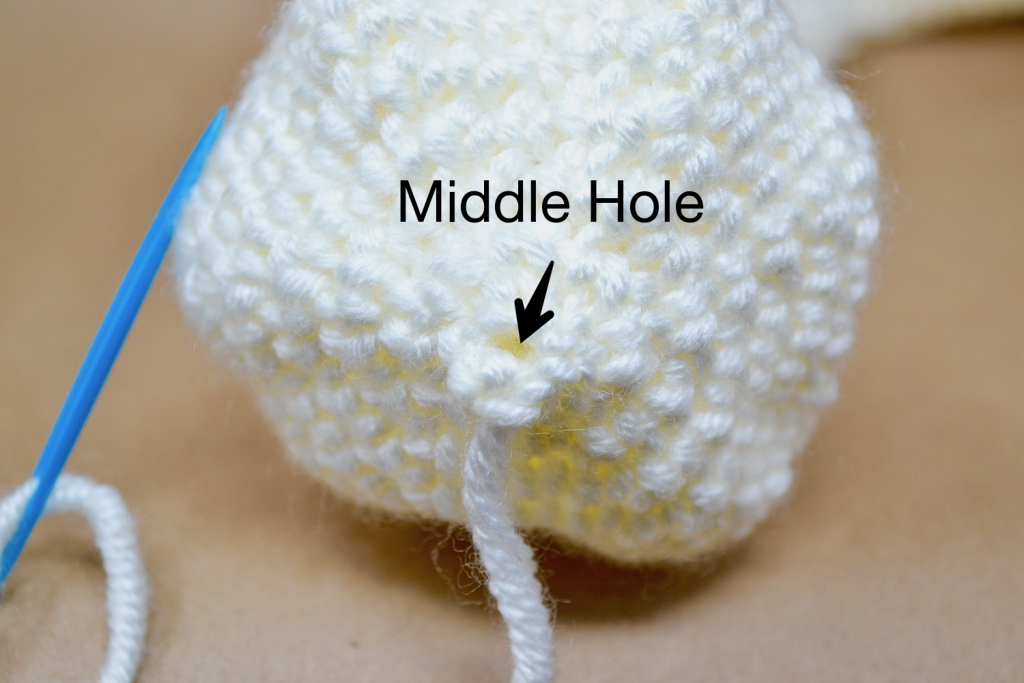
Step 6: Insert your needle through the hole – weaving it into the piece.
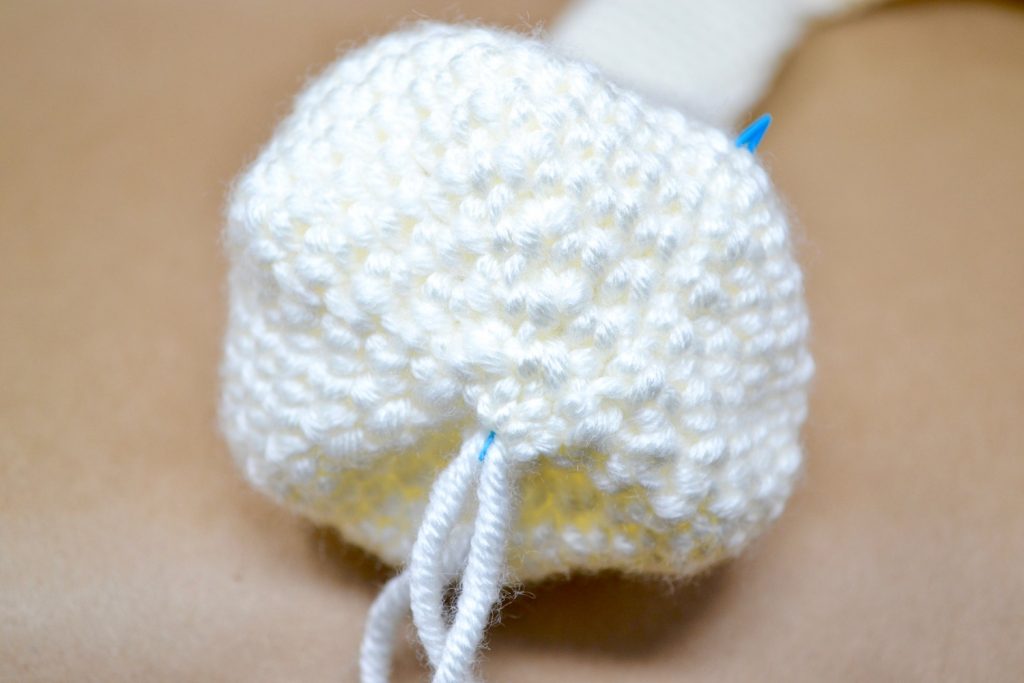
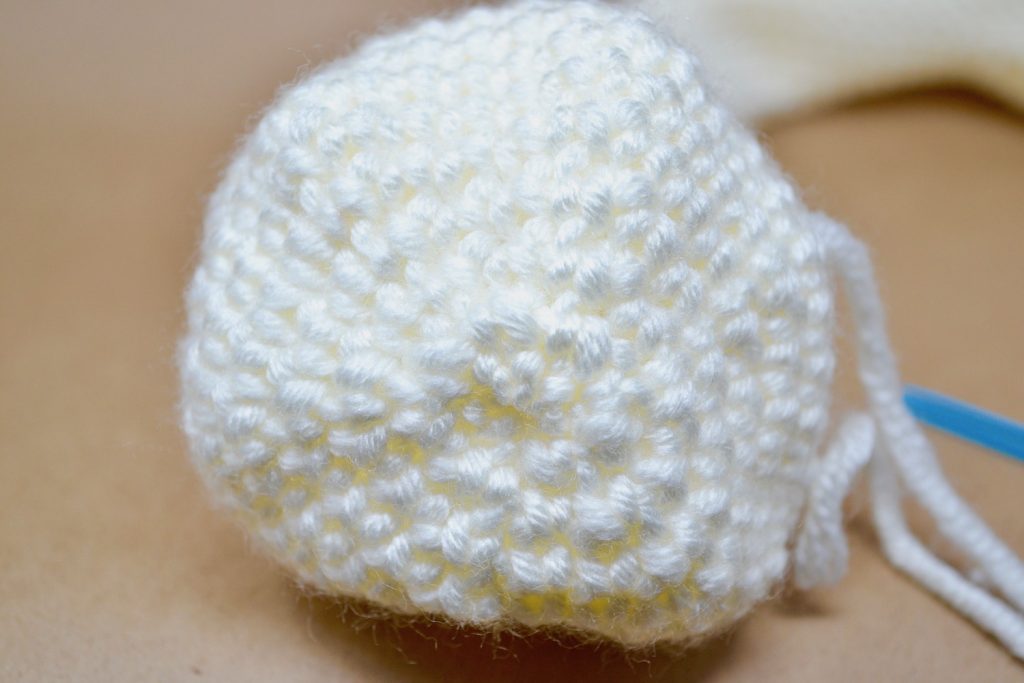
Step 7: Last but not least, pull tightly on the yarn to close the middle hole. You’re all done! Yay!
If you’re like me and love watching video tutorials, here’s one showing the step-by-step process of closing your amigurumi piece.
SUPPLIES USED
Here’s some tools I used in the post and in the video. If you ever have any questions about crochet, supplies, or just wanna chat yarn sales, please reach out to me! keke@yarnsociety.com
These are affiliate links to supplies I personally use and love. Thank you for supporting Yarn Society, you guys are the bees knees!
- Lion Brand Color Made Easy Yarn in Color Birch and Basalt
- Large Yarn/Embroidery Needle (perfect for chunky yarn)
- Clover Amour Crochet Hooks
- Yarn/Darning Needle
- Locking Stitch Markers
Grab the Bunny Ear Teether pattern and practice your new skill!

